
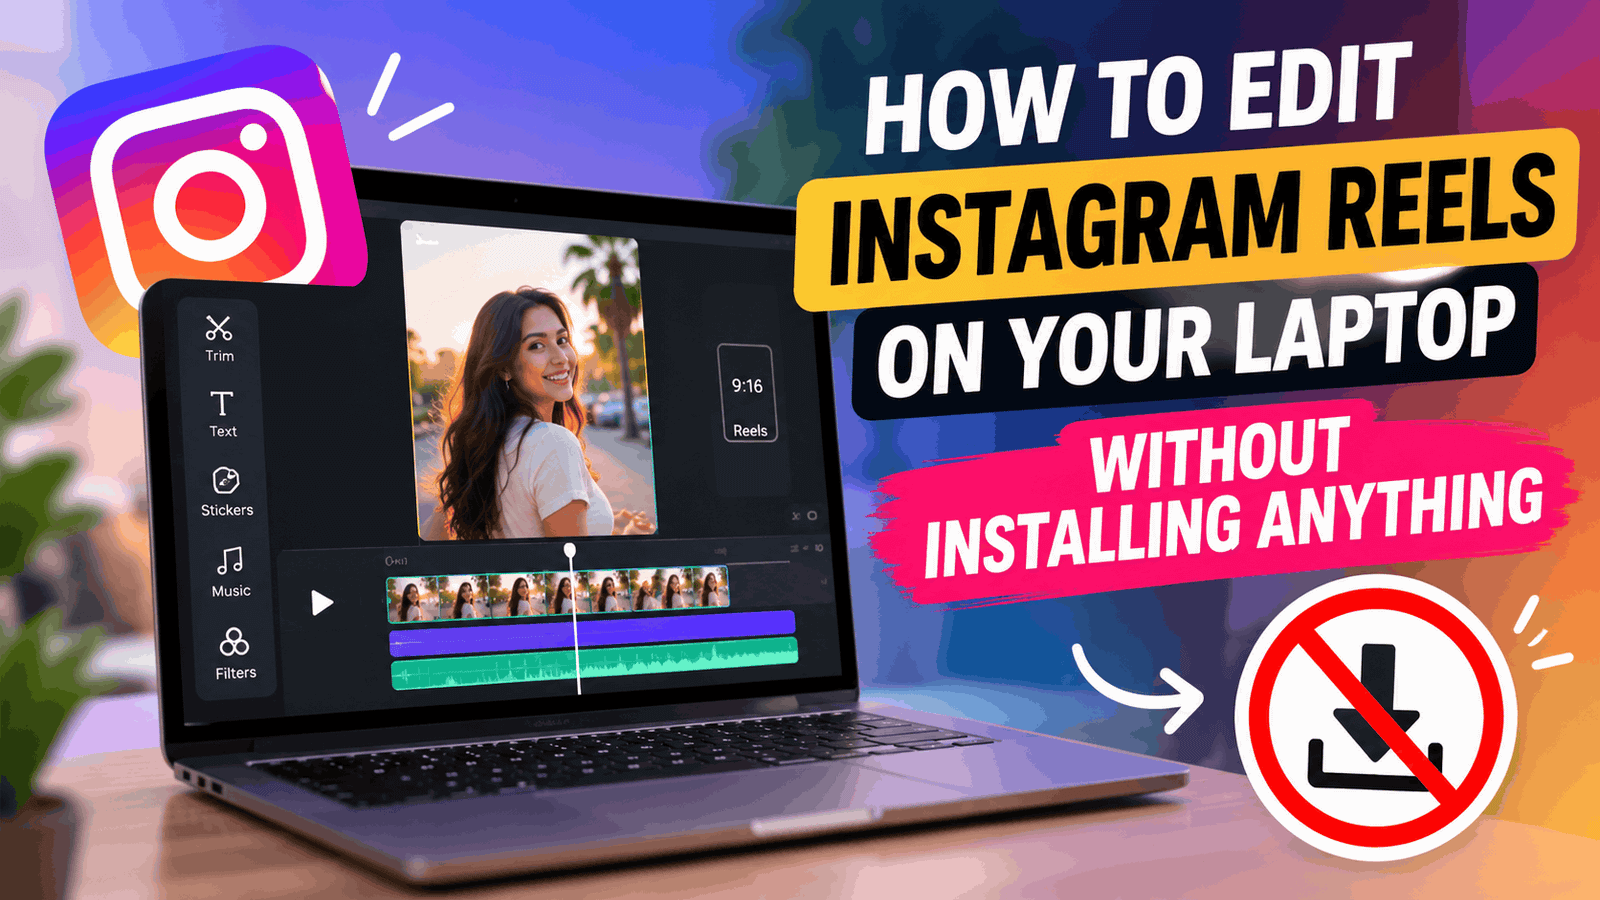
How to Edit Instagram Reels on Your Laptop Without Installing Anything?
Editing Reels on your phone works until it does not. The screen is small, your thumbs get in the way, and one wrong tap can undo ten minutes of work. A laptop gives you room to breathe, a proper timeline, and a real keyboard.
The catch is that most laptop editors need a big download first. If your storage is tight, your laptop is a work machine, or you simply want to get started right now, that is a hard sell.
The good news is that you do not need to install anything. Here is how to edit Reels on your laptop straight from your browser, plus a few tips to make them look better.
Why Edit Reels on a Laptop at All?
Phone editing is fine for quick clips. But a laptop helps when you want more control:
- A bigger screen makes it easier to spot shaky shots and awkward cuts.
- A timeline lets you line up clips, music, and captions properly.
- A keyboard and trackpad are faster for trimming than tapping and dragging.
- Easier file handling if you filmed on a camera or want to reuse older footage.
If you post Reels regularly, those small time savings add up quickly.
What You Need Before You Start?
Keep it simple. You only need three things:
- Your clips on the laptop, or ready to upload from your phone.
- A browser like Chrome, Edge, Safari, or Firefox.
- A steady internet connection, since everything runs online.
That is it. No installers, no setup wizards, no storage warnings.
Step 1: Get the Right Size for Reels
Reels are vertical. The standard is a 9:16 ratio, which is 1080 by 1920 pixels. If you film horizontally, you will need to crop or reframe so the important part of the shot stays in the middle.
Set your project to vertical before you start cutting. Fixing the shape at the end is where most people get frustrated.
Step 2: Upload Your Clips and Trim the Fat
Drop your footage into the editor and start with the obvious cuts. Remove the awkward start where you are getting ready, the long pause in the middle, and the trailing end where you reach for the phone.
Tighter is almost always better. Viewers decide within a second or two whether to keep watching, so lead with the good part.
If you filmed a long take and only need the best bits, this is where a helpful editor saves real time. Invideo editor can review a recording, pick the usable takes, and remove false starts and dead air, so you are trimming a clean first cut instead of scrubbing through everything by hand.
Step 3: Use a Browser-Based Editor So There Is Nothing to Install
This is the part that makes the whole process painless. You need an editor that opens in a tab, not one that asks for a download.
Invideo editor is a free tool that runs entirely online, and it works the same way as a browser-based video editor on any laptop or phone. Nothing to install and nothing to learn first. You can cut clips, add music and captions, fix shaky video and bad sound, or type what you want changed and watch it happen. Because the project lives online, you can start on your laptop and pick it up on your phone later.
For Reels, that flexibility is handy. You can rough out the edit on a big screen, then check how it looks on a phone before you post.
Step 4: Add Captions
Most people watch Reels with the sound off, so captions are not a nice extra. They are what keeps someone watching.
Keep them short, keep them readable, and keep them inside the safe area of the screen so the Instagram buttons do not cover them. Use one or two lines at a time, and make sure the text contrasts well with the background.
Auto-captions get you most of the way. Read through them once to catch any mistakes before you export.
Step 5: Fix Audio and Shaky Footage
Good audio makes an average clip feel polished, and bad audio makes a great clip feel amateur. Check for background noise, uneven volume, and music that drowns out your voice.
If a clip is shaky, stabilize it or swap in a steadier take. In invideo editor, you can describe the fix in plain language and adjust it by hand afterwards, which keeps you in control of the final look.
Step 6: Add Music, Then Export
Pick a track that suits the mood and keep it lower than your voice. Trim it so it ends cleanly with your last shot instead of fading out awkwardly.
When you are happy with the edit, export in vertical format and send the file to your phone or upload it straight from your laptop. Then post it as usual.
Quick Tips for Better Reels
- Hook early. Put your best moment in the first second or two.
- Keep the pace up. Cut anything that does not earn its place.
- Stay consistent. Reuse the same caption style so your Reels feel like a series.
- Check on your phone. Preview before posting, since that is where most people will watch.
- Save a template. If you like a layout, duplicate the project and swap in new clips next time.
Common Mistakes to Avoid
- Editing in a horizontal frame and cropping at the end
- Placing captions where Instagram's buttons will cover them
- Using music so loud it hides your voice
- Leaving in long pauses and false starts
- Skipping the final check on a phone screen
Also Check: Best Faceswap AI Tools
Final Thoughts
You do not need heavy software to edit Reels on a laptop. A good browser-based tool gives you the space and control of a desktop editor without the downloads, storage worries, or learning curve. Start with one reel. Cut it, caption it, and post it. Once you have done it once, the process gets much faster, and your laptop stops feeling like the harder way to edit.
Karthikeyan Selvaraj
Founder & Chief EditorKarthikeyan Selvaraj is the Founder and Chief Editor of FoxAITools. With over 8+ years of tech and software engineering experience, he personally tests, evaluates, and reviews cutting-edge AI software, SaaS tools, and machine learning models.
View Full Author Profile & Published Articles →